How to Make Gel Candles at Home
Ever thought about making beautiful, clear gel candles at home? Gel candles bring a unique look that can make any space look better. And the good news is, you don’t have to be a pro to do it. This guide will show you how to make stunning gel candles that will wow your loved ones.
Key Takeaways
- Gel candles offer a transparent, glass-like appearance that adds elegance to any setting
- Crafting gel candles at home is a fun and rewarding DIY project
- Understand the key materials and supplies needed to make professional-looking gel candles
- Learn expert techniques for melting the gel wax, adding color and fragrance, and pouring the perfect candle
- Discover creative ideas for embedding unique objects and achieving one-of-a-kind gel candle designs
Introduction to Gel Candle Making
Explore the charm of gel candles. They are a special type of candle that opens up a world of creativity. Unlike traditional candles, gel candles look transparent and glass-like. This makes them a beautiful addition to any room.
What are Gel Candles?
Gel candles use a clear, gel-like wax for a unique look. They let you add things like flowers, stones, or glitter inside. This makes each candle a one-of-a-kind piece that lights up and decorates at the same time.
Benefits of Making Gel Candles at Home
- Unleash your creativity and design custom, personalized candles
- Enjoy a higher level of clarity and transparency compared to traditional wax candles
- Experiment with a wide range of embedded objects to create unique and eye-catching pieces
- Craft candles that serve as both functional lighting and decorative elements in your home
- Have fun with the process of making gel candles and express your artistic flair
Making gel candles at home lets you explore endless creativity. You can craft personalized gifts or stunning centerpieces. Let your imagination run wild with gel candles.
Materials and Supplies Needed
To make beautiful gel candles at home, you need the right materials and supplies. You’ll need the best gel wax, candle dyes, and fragrance oils. Also, you’ll need gel candle wicks and wicking supplies for even and safe burning.
Gel Wax
Gel wax is the base of your candles. It comes in different densities for various scents and looks. Make sure to choose high-quality gel wax made for candle making. It gives the best clarity, texture, and burn.
Candle Dyes and Fragrances
Use candle dyes and fragrance oils to add color and smell to your candles. There are many liquid dyes and fragrance oils to choose from. Make sure to use the right amounts for the best look and smell.
Gel Candle Wicks and Wicking Supplies
Gel candles need special wicks and supplies for a clean burn. Use pre-tabbed wicks made for gel wax. Also, get any extra tools or accessories your project needs.
With the right materials, you can make beautiful gel candles. Take your time to find quality ingredients. Your homemade gel candles will impress everyone.
Preparing the Workspace
Before starting your gel candle-making journey, set up your workspace for success. A well-organized space makes the process smoother and improves your experience. Let’s look at the steps to prepare the perfect workspace for your gel candle projects.
Gather Your Supplies
Start by collecting all you need for your gel candle project. This includes gel wax, candle dyes, fragrance oils, wicks, and any extra decorations. Keep these items close so you can easily move between steps during candle-making.
Protect Your Surfaces
Wax can be messy, so protect your surfaces. Use parchment paper or a silicone baking mat to cover your workspace. This keeps your countertops or tables safe from spills and stains, making clean-up easy.
Ensure Proper Ventilation
Gel candle making might involve fragrance oils or other volatile substances. For a safe and comfy environment, work in a well-ventilated area. Near an open window or under an exhaust fan is best. This helps to keep the air fresh and reduces fumes or odors.
By carefully setting up for gel candle making and creating a dedicated workspace for gel candle crafting, you’re ready for a great gel candle-making experience. With everything in place, you can start making your own unique gel candles.
Melting the Gel Wax
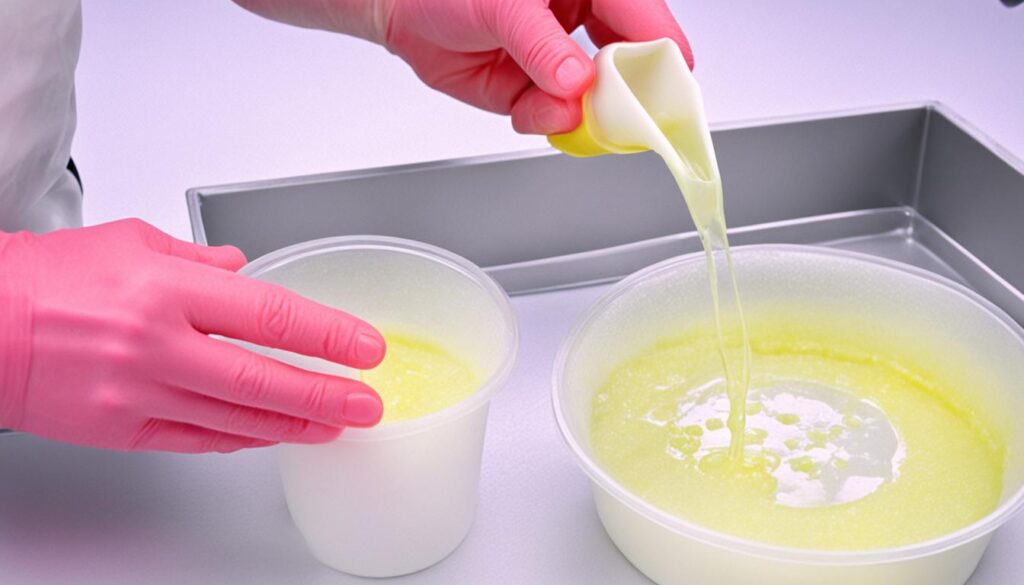
Learning how to melt gel wax is key to making perfect, clear gel candles. This wax needs careful handling to avoid air bubbles and uneven heating. By using the right methods, you can get a smooth melt. This is the base for your beautiful homemade candles.
Temperature Considerations
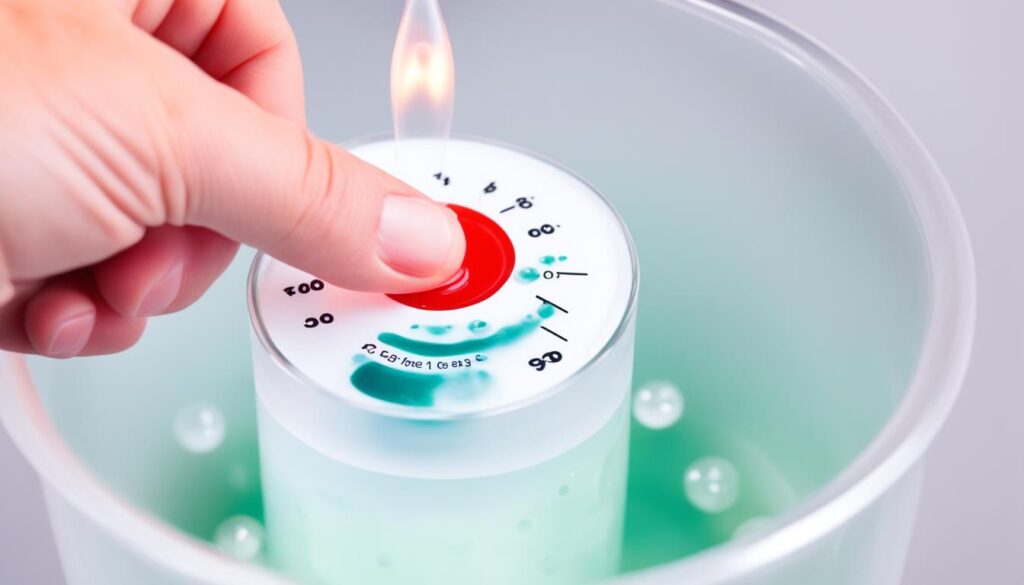
Gel wax should be melted between 185°F and 195°F. If it gets too hot, the wax can break down. This ruins the candle’s clarity and strength. Use a double boiler or a water bath to melt the wax slowly. Keep an eye on the temperature and adjust the heat to stay within the ideal range.
Avoiding Air Bubbles
- Stir the melting wax gently and slowly to prevent introducing air bubbles.
- Avoid excessive stirring or agitation, as this can incorporate air into the wax and create unsightly air pockets in the final candle.
- If you notice any air bubbles forming, use a heat gun or torch to carefully warm the surface of the wax and allow the bubbles to rise and dissipate.
By following these temperature guidelines and techniques for minimizing air bubbles, you can ensure a seamless, high-quality melt. This sets the stage for your beautifully crafted gel candles.
Adding Color and Fragrance
Customizing your gel candles with color and scent lets you show off your creativity. When using candle dyes for gel wax, add them in small amounts. Gel wax takes color easily and can quickly become too dark. For fragrance oils for gel candles, pick oils made just for gel candles. They should be non-polar and have a high flashpoint. Adding the right coloring gel candles will make sure your candles look and smell great.
Choosing the Right Candle Dyes
Choosing the right candle dyes for gel wax is key for your candle’s look. Use liquid dyes made just for gel wax because they’re very strong. Start with a little dye and add more until you get the color you want.
Fragrance Oil Selection
For fragrance oils for gel candles, pick oils that are non-polar and match the gel wax. These oils mix well and keep their scent for a long time. Try out different scents to find the one that goes best with your candle design.
| Candle Dye Considerations | Fragrance Oil Considerations |
|---|---|
|
|
“The perfect candle is a balance of color and fragrance, seamlessly blended to create a truly captivating experience.”
Pouring the Gel Candle
Pouring melted gel wax into a container is a key step. You need to be very careful. Slowly pour the wax into your chosen container, like a glass jar or a heatproof container. Make sure the wick is in the right spot and try to avoid air bubbles.
Choosing the Right Container
Choosing the right size and shape of the container is crucial. It affects how your gel candle looks and how long it burns. Here are some tips for picking the perfect container:
- Size: Pick a container that matches the amount of gel wax you have. Too much or too little wax can change how the candle looks and works.
- Shape: Go for containers with a wide opening for an even pour and a steady burn.
- Material: Choose containers made of heatproof glass or ceramic that can handle the melted gel wax.
- Aesthetics: Select a container that fits the look you want for your gel candle.
By pouring the wax carefully and choosing the right containers, you’re on your way to making beautiful, lasting gel candles. These candles will bring elegance to any room.

how to make gel candles
Making your own gel candles at home is fun and rewarding. You can create beautiful, personalized candles that add elegance to any room. These step-by-step gel candle making tips are perfect for beginners and experts alike.
- Determine the amount of gel wax needed for your candle container. This ensures you don’t waste any wax.
- Melt the gel wax in a double boiler or water bath. Be careful not to overheat or stir too much. This prevents air bubbles from forming.
- Add a bit of liquid candle dye for color, if you want. Stir it in gently to mix well.
- Pour the melted wax into your candle container, placing the wick in the middle.
- Let the gel candle cool and harden completely before adding decorations. This step is important for the candle’s stability.
- After it’s set, get creative with decorations like embedded objects or layered effects.
Follow these instructions for making gel candles to craft unique, beautiful candles. Enjoy making something special that will impress your loved ones. Bring your vision to life and brighten your home with these unique creations.
Embedding Objects in Gel Candles
Creating gel candles lets you embed a variety of objects inside the clear wax. You can use everything from delicate seashells and pearls to colorful marbles and figurines. It’s important to pick items that won’t burn or melt near the candle flame.
Selecting Embeds
When choosing objects, think about their size, shape, and material. Pick items that fit your candle’s look and don’t take over. Some great choices are:
- Seashells and beach glass
- Gemstones, crystals, and semi-precious stones
- Dried flowers, leaves, or herbs
- Small figurines or charms
- Metallic or glass beads
Techniques for Embedding
To embed items in gel candles, work with the wax as it starts to harden. Press your objects into the wax to make sure they stick. Or, use skewers or wick clips to hold them in place as the gel cools. It might take some practice, but the results are amazing.
“The possibilities for embedding objects in gel candles are limited only by your imagination.”
By picking the right embeds and techniques, you can make unique gel candles. Let your creativity shine as you explore how to embed items in gel candles.
Troubleshooting Common Issues
Making gel candles at home can be fun and rewarding. But, you might face some challenges. Don’t worry, with a bit of troubleshooting and adjusting your methods, you can fix these issues and get great results.
Air bubbles are a common problem with gel candles. They can make your candles look less smooth. To avoid this, pour the melted wax slowly, stir less, and keep the wax at the right temperature. This helps stop air pockets from forming.
Another issue is the “frosting” effect, where the wax looks cloudy. This might be due to the dyes or fragrances you use. Try different brands and types to find the best ones for a clear finish.
Wax can also turn yellow or darken, which is frustrating. Make sure the wax doesn’t get too hot when you melt and pour it. Also, keep your candles away from direct sunlight or certain lights to prevent color changes.
- Address air bubbles by pouring the melted gel wax slowly and minimizing stirring.
- Experiment with different candle dyes and fragrance oils to prevent frosting and maintain the desired clarity.
- Monitor the temperature of the wax during the melting and pouring stages to avoid discoloration.
With patience, practice, and understanding, you can beat these challenges and make beautiful gel candles. Troubleshooting is part of the creative process. So, enjoy the journey and show off your candle-making skills!

“The true joy of creating gel candles lies not in the perfection of the final product, but in the process of problem-solving and continuous improvement.”
Creative Ideas and Inspiration
The transparent nature of gel wax opens up a world of creative possibilities for your homemade creative gel candle designs. Try layering different colors, adding unique embeds, or exploring ombre effects. Gel candles are great for making gel candle gift ideas, like a seaside-themed candle with seashells or a winter wonderland candle with snowflakes.
Unique Gel Candle Designs
Let your creativity shine by making one-of-a-kind gel candles. Add unique objects like sea glass or dried flowers to the wax. You can also layer colors for ombre effects or use bright colors for a bold look.
Gel Candle Gift Ideas
Gel candles make perfect gifts for any event. Create a beach-inspired candle with seashells and a beachy scent. Or, make a snowy wonderland candle with snowflakes and a cozy scent. There are many ways to make special gel candle gift ideas that people will love.
“Let your imagination guide you as you craft one-of-a-kind gel candles that showcase your individual style and creativity.”
Conclusion
Learning to make gel candles at home is a fun and rewarding journey. You now know how to create beautiful, transparent candles. These candles can light up your space and add to your decor.
This guide has given you the skills and ideas to start making your own gel candles. You can make special gifts for your loved ones or just enjoy the candle-making process. You’ve learned how to pick the right materials and add cool objects to your candles.
Keep exploring gel candle making and remember, success comes from using the wax’s unique qualities and your own creativity. With colors, scents, and creative designs, you can make candles that light up your space. They will also show off your personal style and creativity.
FAQ
What are gel candles?
What are the benefits of making gel candles at home?
What materials and supplies are needed to make gel candles?
How do you prepare the workspace for making gel candles?
What is the key to successfully melting gel wax?
How do you add color and fragrance to gel candles?
What is the proper technique for pouring gel wax into the candle container?
What are some common issues that can arise when making gel candles?
What are some creative ideas for making unique gel candles?
Source Links
- https://www.savvyhomemade.com/how-to-make-gel-candles-embeds/ – How To Make Gel Candles With Embeds
- https://candlewic.com/learn/candlemaking-how-to/gel-candles/ – How To Make Gel Candles – Candlewic: Candle Making Supplies Since 1972
- https://www.terre-de-bougies.com/en/content/58-make-candle-gel?srsltid=AfmBOorH7j34praOc1dtk8rF8ZEVN3sLEe0ZEPZLUq0VGTP3RyLr7tOS – Guides and recipes for scented DIY creations – TDB
- Fragrance That Wows: A Beginner’s Guide to Adding Scents to Your Homemade Candles
- best essential oils for candles
- wood wick guide
- how to make candles smell stronger
- how to ship candles
- how to fix soy wax frosting
- wick Guide how to choose the right wick size with chart
- how to make candle molds
- how to clean candle wax
- how to reuse candle jars
- soy wax candle troubleshooting
- best wax melter for candle making
- how to conduct burn test
- why candle flickering crackling smoking
- how much wax per candle
- how to make candles smell stronger
- Easy Ways to Increase the Scent Throw of Your DIY Candles
- How to Make Candles for Meditation and Relaxation
- Using Upcycled Materials in Candle Making
- How to Make Hand-Poured Candles: Tips and Techniques

Leave a Reply