Fragrance That Wows: A Beginner’s Guide to Adding Scents to Your Homemade Candles
Welcome to the world of candle making for beginners. Here, you’ll learn how to add fragrance to candles that excite your senses and brighten your home. Have you ever seen how expensive luxury candles can be? Often, they cost more than $50 for just 2.5 days of burning.
By making your own candles, you save money and can pick scents you love. This guide will cover the basics, from fragrance additives to essential and fragrance oils. You’ll learn how to make your space smell amazing!
Key Takeaways
- Luxury candles often cost upwards of $50.
- Homemade candles provide opportunities for customization and affordability.
- The ideal fragrance ratio is around 1 ounce of oil per pound of wax.
- Start pouring candles at temperatures between 120ºF and 140ºF.
- Waiting at least 24 hours before burning allows candles to cool properly.
- Consider eco-friendly options by using organic ingredients and sustainable packaging.
Introduction to Candle Making
Candle making is a fun hobby that combines creativity and relaxation. It lets you create your own unique DIY candles. These homemade candles make great gifts or can simply make your home feel cozier.
The first step is melting the wax. You can choose eco-friendly options like soy wax candles. AAK’s 464 soy wax is easy to work with, even for beginners. Start with a 1 lb (454 g) batch for your first try.
Heat the wax to about 185°F (85°C) for the best results. This temperature helps mix the wax with fragrance oils well.
When adding scent, use about 6% fragrance oil. This means 1 ounce (28 g) of fragrance for every 1 pound (454 g) of wax. This amount gives a nice smell without being too strong. Pour the wax into containers, like 8oz candle tins, leaving about 4 inches (10.2 cm) of space. Let the candles cure for at least two weeks for the best scent.
The Benefits of Homemade Candles
Making your own candles brings many benefits of homemade candles to your space and life. You can pick your scents and designs. Plus, you get to enjoy the art of natural candle making. Homemade candles are often cheaper than store-bought ones, saving you 20-50%.
Choosing eco-friendly candles is good for the planet. Soy or beeswax candles burn cleaner, improving your home’s air. Families making candles spend more time together, bonding by 30%.
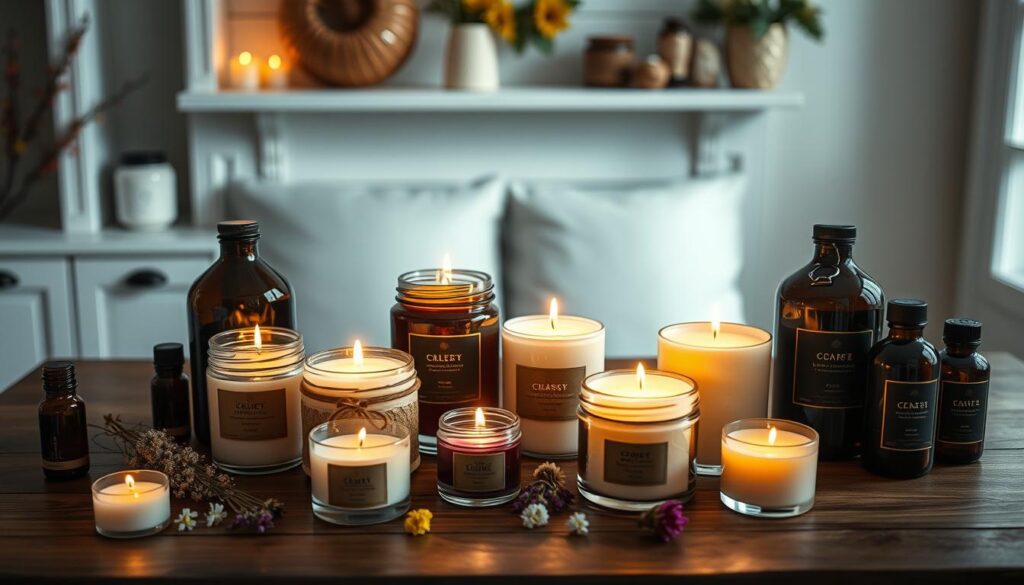
Candle making is a creative outlet that boosts mental health. Over 70% of makers feel more fulfilled. By making cost-effective candles, you can also give personalized gifts with special fragrances. This appeals to 60% of gift-givers during holidays.
The candle-making community is growing fast, with a 15% annual increase on social media. This shows a shift towards sustainable living, with 80% of makers using non-toxic ingredients. Homemade candles are a rewarding hobby that benefits you and the environment.
Choosing the Right Wax for Scented Candles
Choosing the right wax is key for scented candles. Each wax type has its own benefits and challenges. It’s important to know the differences between soy wax and beeswax for eco-friendly options.
Soy wax vs beeswax is a big debate for new candle makers. Soy wax is 100% natural and biodegradable, making up 25% of the market. It burns clean and holds scent well, making it great for eco-friendly candles.
Beeswax is about 10% of homemade candles and is known for quality and longevity. It has a natural honey scent and burns longer. Handling beeswax requires skill, but many love its unique qualities.
Paraffin wax is the most common, making up 70% of the market. However, it has a higher environmental impact. Palm wax is less common but appeals to those who want eco-friendly candles. Blended waxes offer customization in fragrance and burn time.
Learning about wax types is the first step in candle making. Each wax has its own features. Trying different waxes can lead to exciting discoveries in scented candles.
Essential Tools for Candle Making
Starting your candle-making journey means getting the right candle making tools. Knowing what candle making supplies you need makes the process easier. Here are the key items for your toolkit:
- Candle wax (paraffin, soy, or beeswax)
- Containers or molds (metal, plastic, or silicone)
- Candle wicks
- Thermometer
- Double boiler or heat-safe pitcher
- Stirring tool
- Chopsticks
- Wick trimmer or scissors
A good thermometer is key for checking wax temperatures. This helps you know when to add scents and pour the wax. A double boiler setup is safe for melting wax, avoiding burns from direct heat. When buying DIY candle supplies, look for a quality thermometer that works with candle wax.
Each type of candle wax has its own benefits. Paraffin wax has a great scent throw and burns slowly. Soy wax melts low and works well with fragrance oils. Beeswax is eco-friendly, burns long, and smells natural. Choosing the right wicks is also important. Wooden and cotton wicks are popular, but make sure they fit your containers.
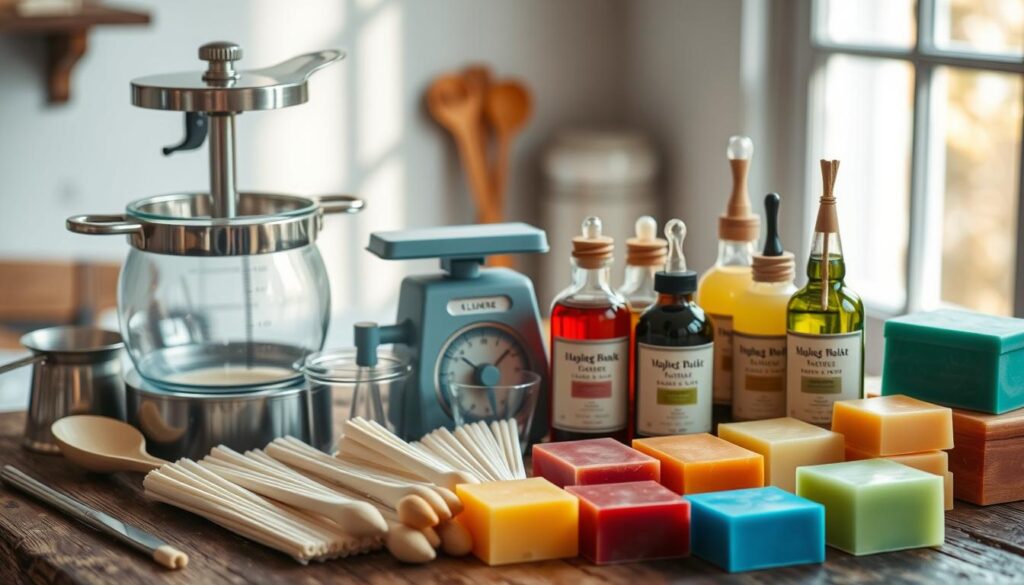
When you’re ready to make candles, keep wick lengths between 14 to 18 inches. This reduces soot and improves fragrance. Using wick holders keeps your wicks straight while they cool. Getting the right equipment for candles is crucial for making beautiful, fragrant candles.
Choosing Fragrance: Essential Oils vs. Fragrance Oils
Starting your candle-making journey means deciding between essential oils and fragrance oils. Each has its own benefits, letting you craft candles with unique scents. Knowing about scent strength and longevity helps you pick the right one for your vision.
Understanding Scent Strength and Longevity
Fragrance oils give a stronger smell than essential oils. Essential oils come from plants and have softer, often healing scents. Fragrance oils, on the other hand, offer a wide range of strong smells. This affects both the scent strength and scent longevity in your candles.
Here’s a quick comparison of essential and fragrance oils:
| Aspect | Essential Oils | Fragrance Oils |
|---|---|---|
| Aroma Intensity | Less intense, natural scents | More potent, synthetic or mixed scents |
| Scent Longevity | Up to 12 months | 1-2 years (sometimes longer) |
| Cost | Generally higher due to extraction | Typically cheaper, mass-produced |
| Environmental Impact | Resource-intensive extraction process | Varies; some may use petroleum |
| Therapeutic Benefits | Known for aromatherapy effects | Primarily focused on fragrance |
Choosing the right ingredient affects the scent’s strength and how long it lasts. If you want scents that last, fragrance oils are a good choice. Try different options to make your candle-making even better!
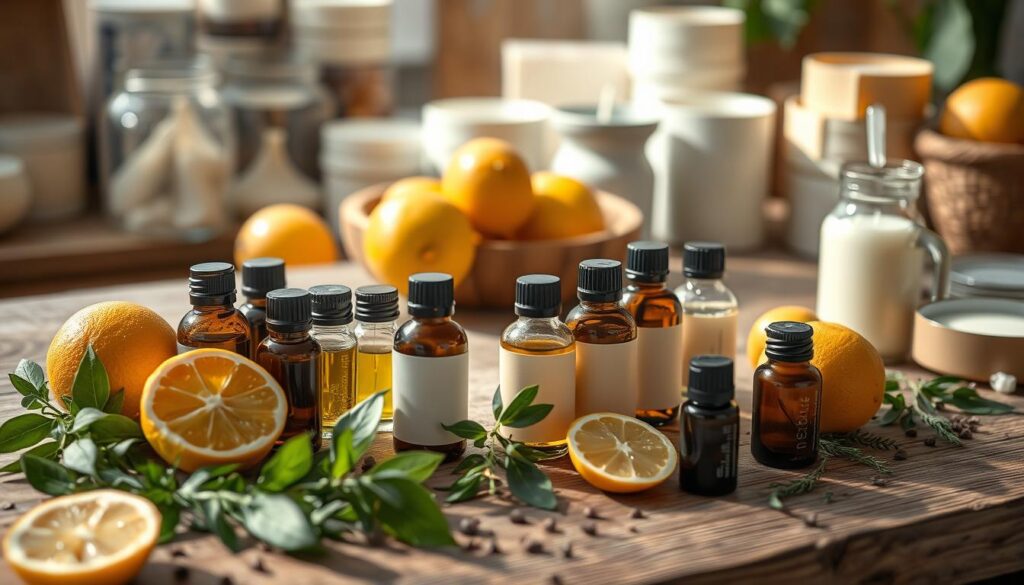
How to Add Fragrance to Candles?
Learning to add fragrance to soy candles is fun and rewarding. It’s all about finding the right fragrance ratios and avoiding mistakes. Here are some key tips to get a great scent in your candles.
Recommended Ratios for Fragrance Additives
Getting the fragrance right is key for great candles. For a 16-ounce Mason jar, start with 10-20 drops of essential oil. Here’s a simple guide for ingredient amounts:
| Wax Weight (grams) | Fragrance Oil Weight (grams) | Fragrance Load Percentage |
|---|---|---|
| 147.2g | 12.8g | 8% |
Experiment with different essential oils for unique scents. For example, mix six drops of eucalyptus with six drops of lavender for a fresh, calming smell. Make sure to use double the wax flakes as the final volume. Let candles set for hours or overnight before lighting.
Common Mistakes to Avoid
When making candles, avoid some common mistakes. Here are a few tips:
- Don’t add fragrance to hot wax. It can make the scent disappear.
- Choose the right wax for your fragrance. The wrong wax can affect the scent.
- Trim the wick to about ¼ inch before lighting for the best burn.
- Give soy wax candles at least one week to cure for the best scent.
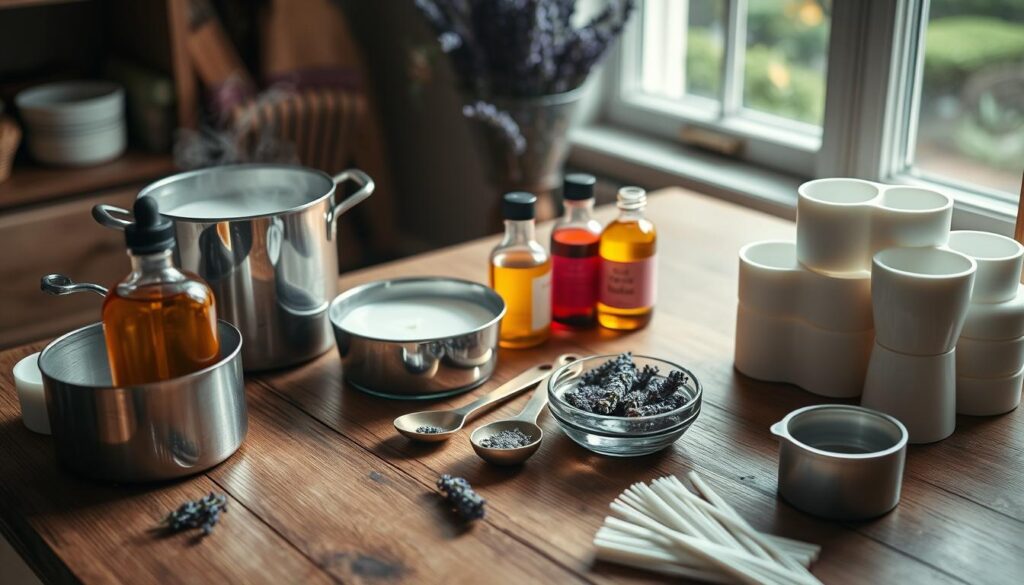
Follow these tips to master adding fragrance to soy candles. Getting the scent right takes time and practice. But by avoiding these mistakes, you’ll be well on your way to making great candles.
Step-by-Step Guide to Adding Fragrance to Your Candles
Making a scented candle is all about preparation and detail. This guide will show you how to set up your workspace and melt wax for candles.
Preparing Your Workspace
Having a clean and organized workspace is key. Here’s how to get started:
- Clear your space of clutter and arrange your tools.
- Collect wax, fragrance oils, pitchers, and wicks.
- Make sure your area is well-ventilated to avoid strong smells.
- Wear gloves and protective eyewear for safety.
Measuring and Melting Wax
Measuring and melting wax correctly is important for scent. Start by measuring your wax for the size of your containers. For example, use 6% to 8% fragrance in All Seasons Wax. This means about 27.3 ml or grams of fragrance for a 390 ml jar at 7% load.
Use a double boiler to melt wax at the right temperature. The ideal temperature is 130-140°F (50-55°C). Add fragrance oils to melted wax right away for best mixing and scent.
Let your melted mix cool a bit before pouring it into molds. Keep the pouring temperature around 140°F (60°C). This step is crucial for a smooth finish and to prevent sweating in soy content candles.
Tips for Enhancing Scent Throw in Candles
Creating candles that fill your space with delightful aromas involves understanding how to make candles smell stronger. Curing time is key in enhancing candle aromas. By following best practices for candle curing, you ensure your candles perform at their best.
Best Practices for Curing Candles
The curing process allows the wax and fragrance oil to bond effectively. This leads to a more potent fragrance when burned. Here are some key points on how to achieve optimal results:
- Allow candles to cure for at least 1-2 weeks for soy and other natural waxes to maximize scent throw.
- If using paraffin wax, aim for 3-5 days of curing time.
- Smaller candles may only require a minimum of 1 day depending on supplier recommendations.
- Maintain a consistent environment, as factors like temperature and humidity may influence fragrance release.
- Ensure proper wick size and placement, as this affects how evenly the wax melts and thus how well scents are released.
Incorporating these tips will guide you toward enhancing candle aromas effectively. Focus on the right blend of wax and fragrance, alongside optimal curing times, to create an inviting ambiance in your space.
Troubleshooting Candle Fragrance Issues
Making candles is a fun hobby, but sometimes you hit troubleshooting candle fragrance problems. Issues like weak scent throws can be a letdown. Knowing these problems helps you find weak scent throw solutions and improve your skills. Here are some key points to consider for better candle scent performance.
Weak Scent Throw Solutions
Weak scent throw is a common problem for candle makers. It’s caused by several factors:
- Low fragrance oil dosages: Make sure you’re using the right amount of fragrance oil. A good rule of thumb is 6-10% of the total wax weight.
- Wick sizing: The wrong wick size can stop your candle from melting the wax right. A too-small wick can cause tunneling, making scent dispersal hard.
- Curing time: Give your candles time to cure, usually 1-2 weeks. This lets the fragrance bind and reach its full strength.
- Slow cooling processes: When using soy wax, cool it slowly in the pour pot. This prevents frosting and bumpy tops, which can hurt scent throw.
Try different wick types and sizes. Make sure the wick is at least ¼ inch above the wax for best burning.
| Wax Type | Common Issues | Fragrance Load |
|---|---|---|
| Paraffin | Produces soot, less natural | Up to 10% |
| Soy | Frosting, bumpy tops | Up to 10% |
| Beeswax | Expensive, but burns clean | 5-8% |
| Coconut | Expensive, excellent scent throw | 6-10% |
With careful attention and some trial and error, you can solve these problems. Improving your candle scent performance makes your candles more fragrant and enjoyable.
Conclusion
DIY candle making is a fun way to show your creativity and enjoy your senses. It lets you make candles that smell great and match your style. This article has helped you learn how to make candles that smell wonderful.
Remember, use 7% to 10% fragrance in your candles for the best smell. Let your candles sit for at least 48 hours before using them. This helps them smell even better.
Creating candles is a mix of art and science. It lets you make your own special scents. Try different essential oils to find your favorite smells. Enjoy the process and make your own scented candles today!
FAQ
How do I add fragrance to my homemade candles?
What are the best essential oils for candle making?
How can I make my candles smell stronger?
What is the difference between fragrance oils and essential oils for candles?
How do I calculate the fragrance load for my candles?
What tips do you have for adding fragrance to homemade candles?
Why does my candle have a weak scent throw?
What is the best temperature to add fragrance to candle wax?
How do I troubleshoot candle fragrance problems?
What are some effective candle scenting techniques?
- Fragrance That Wows: A Beginner’s Guide to Adding Scents to Your Homemade Candles
- best essential oils for candles
- wood wick guide
- how to make candles smell stronger
- how to ship candles
- how to fix soy wax frosting
- wick Guide how to choose the right wick size with chart
- how to make candle molds
- how to clean candle wax
- how to reuse candle jars
- soy wax candle troubleshooting
- best wax melter for candle making
- how to conduct burn test
- why candle flickering crackling smoking
- how much wax per candle
- how to make candles smell stronger
- Easy Ways to Increase the Scent Throw of Your DIY Candles
- How to Make Candles for Meditation and Relaxation
- Using Upcycled Materials in Candle Making
- How to Make Hand-Poured Candles: Tips and Techniques
Leave a Reply