Candle crafting tutorials
Layered Candle Making: Step-by-Step Instructions
Are you ready to take your candle-making to the next level? Layered candles add depth and visual interest to your creations. This guide is perfect for both seasoned candle lovers and beginners. It will teach you how to make stunning layered candles that will wow your friends and warm your home.
Key Takeaways
- Discover the art of creating beautiful layered candles with vibrant colors and unique designs.
- Master the essential techniques for melting wax, adding scents, and pouring the layers for a professional finish.
- Learn how to set up your candle jars and secure the wicks for a sturdy, long-lasting result.
- Explore creative ideas and expert tips to elevate your layered candle-making skills.
- Gain the confidence to unleash your creativity and make one-of-a-kind candles that will be the talk of the town.
Introduction to Layered Candle Making
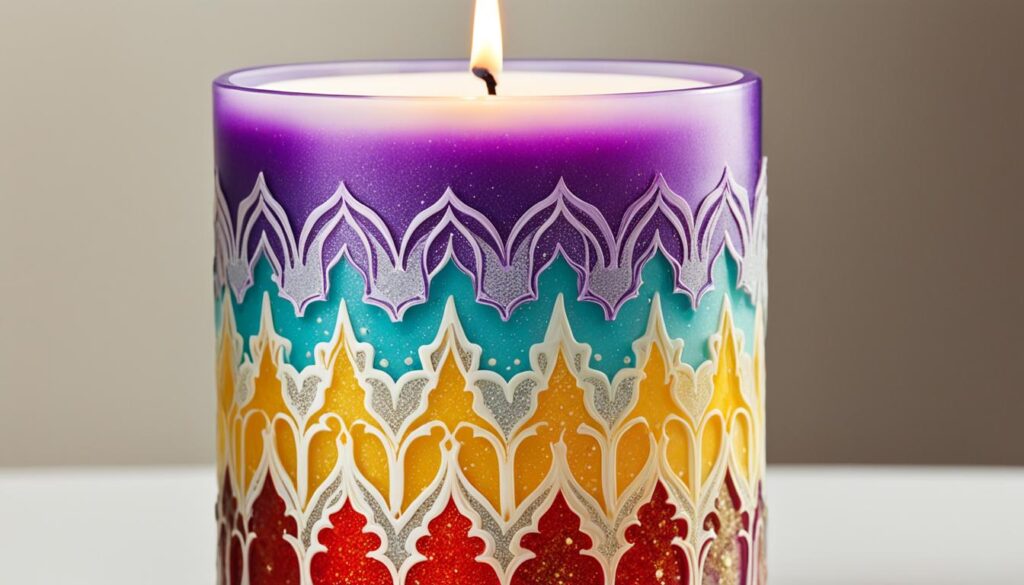
Layered candles add a touch of beauty to any home. This method involves pouring different colors and scents of wax into a container. This creates a stunning ombre effect or a mix of fragrances. By learning layered candle making, you can make unique candles that brighten up your space.
What are Layered Candles?
Layered candles let you play with colors and scents. You pour wax in layers to get an ombre effect or contrasting colors. This makes your candles stand out and adds beauty to any room.
Benefits of Making Layered Candles
- Customization: You pick the colors, scents, and patterns that fit your style and home decor.
- Creativity: Making layered candles lets you experiment and show off your artistic side. You get unique and eye-catching results.
- Versatility: You can make layered candles in many shapes and sizes. They fit well in any space.
- Longer Burning Time: These candles burn longer, so you enjoy their beauty and smell for more time.
Explore the world of layered candle making for more creativity and home decor. With the right skills and imagination, your home can become a stylish and cozy oasis.
Essential Supplies Needed
Layered candle making is a fun craft that lets you make beautiful and unique candles. You’ll need some key candle making supplies to start. These include soy wax flakes, candle wicks, and heat-proof jars or containers. But there’s more to it!
To make your layered candle making even better, use a double boiler or melting pot for melting wax. You’ll also need stirring spatulas, glass measuring cups, and paper towels. And don’t forget isopropyl alcohol, duct tape, and scissors for securing wicks and finishing touches.
If you like to get creative, think about adding candle dyes or crayons for color. You can also use essential oils or fragrance oils for a nice scent. With these candle making materials, you’re ready to make beautiful DIY candle supplies that will brighten any room.
| Essential Supplies for Layered Candle Making |
|---|
|
With this full set of candle making supplies, you’re all set for your layered candle-making adventure. You can unleash your creativity and make unique and beautiful candles.
Preparing the Wax
Before making layered candles, you must prepare the wax well. Start by melting the wax to the right temperature. Then, add color and fragrance. This is key for professional-looking candles that burn well and safely.
Melting the Wax
Start with soy wax flakes and melt them in a double boiler or a special pot for melting wax. Heat it to 150-160°F. Watch it closely to avoid overheating or burning the wax. Stir it now and then to melt evenly.
Adding Color and Fragrance
- When the wax is ready, you can add color. Use candle dyes or melt colored crayons into it for the look you want.
- For fragrance, add 5-10 drops of essential or fragrance oils per layer. Mix well to spread the color and scent evenly.
By controlling the wax’s temperature and adding color and fragrance carefully, you’re ready to make beautiful layered candles. These will delight your senses and beautify any room.
Setting up the Candle Jars
Getting your candle jars ready is key to making beautiful layered candles. Start by heating your jars before adding wax. This makes the wax stick better, giving your candles a smooth look.
Securing the Wicks
After heating your jars, attach the wicks with a bit of melted wax. Make sure they’re stuck to the jar’s bottom well. To keep the wicks straight while adding layers, wrap them around a chopstick or skewer.
This trick makes sure your wicks stay in the middle. It helps your candles burn evenly and look great.
| Supplies Needed | Purpose |
|---|---|
| Candle Jars or Containers | Provides the vessel for your layered candles |
| Candle Wicks | Allows the candle to burn safely and consistently |
| Chopsticks or Skewers | Helps keep the wicks centered as you pour the layers |
| Melted Wax | Secures the wicks to the bottom of the jars |
Getting your candle jars and wicks ready is crucial for making beautiful layered candles. With these steps, you’re ready to make candles that will brighten any room and please your senses.
Pouring the First Layer
Making a layered candle starts with pouring the first layer. You need to pour the colored and scented candle wax layers into the jars carefully. It’s important to be patient and precise.
Slowly pour the wax to spread it evenly. This helps avoid air bubbles that can ruin the look of your candle.
Letting the Layer Cool Completely
Letting the first layer of candle wax cool is crucial for a great layered candle. This can take up to an hour, depending on the room’s temperature. To cool it faster, you can put the jars in the fridge.
But, be careful not to shock the wax. This can cause it to crack or cool unevenly.
By doing these steps, you’re setting up for a stunning layered candle. You’re getting ready to add more layers that will make your candle even more beautiful.
layered candle making
After the first layer cools, it’s time for the next steps. This is where layered candle making gets exciting. You can make your candle look amazing and smell even better.
Preparing the Next Wax Layer
Start by melting the soy wax in small amounts. Then, mix in essential oils and candle crayon colors. This way, you can make each layer unique with different colors and smells.
Pouring with Precision
Pour the melted wax into the jar slowly and carefully. Make sure not to mix the layers. Let each layer cool fully before adding the next one.
Keep adding layers and letting them cool. This careful process is what makes layered candle wax look so beautiful.
“The key to creating beautiful, layered candles is patience and attention to detail. Take your time with each step, and you’ll be rewarded with a truly unique and captivating final product.”
As you add more layers, your candle will look and smell amazing. Each layer brings new colors and smells. It makes your candle a treat for the eyes and nose.
Finishing Touches
After your layered candles have cooled, it’s time for the final touches. This step is key for a polished look. Your handcrafted candles will look professional.
Smoothing the Candle Top
Use a clean spatula or the back of a spoon to smooth the top layer. Run the tool over the surface for an even look. This simple step greatly improves your candles’ appearance.
Trimming the Wicks
After smoothing the top, trim the candle wicks. Use sharp scissors to cut them to 1/4 to 1/2 inch. This makes your candles look better and burn more evenly.
Adding these finishing touches takes your candles to a new level. You’ll feel proud of your work. Your candles will impress everyone.

Creative Ideas for Layered Candles
Unlock your creativity and explore the endless possibilities of layered candle making. From vibrant color combinations to captivating scent-scapes, the world of unique layered candle designs is your canvas to unleash your artistic flair.
Try ombre effects, blending shades to create a mesmerizing visual experience. You can pair complementary colors or choose bold contrasts to make your layered candle inspiration truly stand out.
Go beyond traditional jar candles and try different shapes like tumblers, pillars, or unique molds. These shapes can make your layered candle creations look more sophisticated and unique.
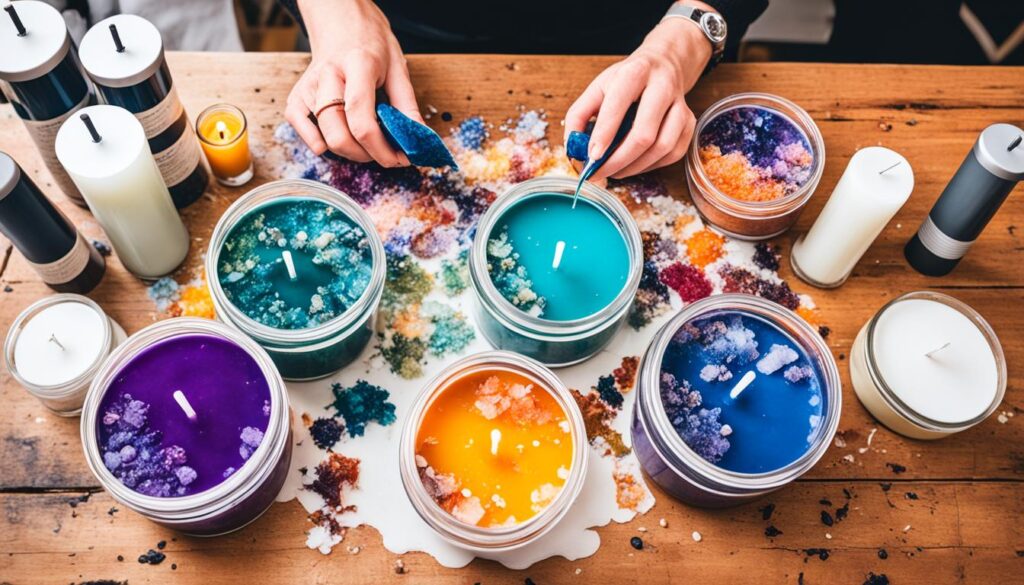
Add natural elements like dried flowers, crystals, or other decorations to your layers. These can turn your candles into mesmerizing art pieces, each one a unique masterpiece.
“The only limit to your creative layered candle ideas is your imagination. Unleash your creativity and let your candles shine!”
The beauty of layered candle making is in experimenting and finding your own style. Embrace the process, have fun, and let your layered candle inspiration lead you to create remarkable candles.
| Creative Layered Candle Ideas | Unique Layered Candle Designs | Layered Candle Inspiration |
|---|---|---|
| Ombre color gradients | Contrasting color palettes | Decorative embellishments |
| Layered scent-scapes | Alternative container shapes | Natural elements integration |
| Artistic layering techniques | Personalized designs | Visually captivating effects |
Tips and Tricks for Perfect Layered Candles
Making layered candles takes patience and skill. But, with the right tips, you can improve your skills and make beautiful candles. Here are some tips to help you make perfect layered candles.
Start by melting the wax in small batches. This keeps the temperature right for each layer. Also, let each layer cool before adding the next. This avoids uneven layers.
It’s important to keep the wick in place. Use duct tape or clips to keep it steady. For better accuracy, think about getting a wick centering device.
- Work in smaller batches to maintain proper temperatures
- Allow each layer to cool completely before adding the next
- Use duct tape or clips to secure the wick and prevent shifting
- Consider using a wick centering device for perfect wick alignment
With patience and these tips, you’ll make stunning layered candles. Enjoy the process and try different colors and scents. Master this technique and impress everyone with your candles.

“The key to perfect layered candles is in the details. With a little practice and attention to each step, you’ll be creating professional-quality candles in no time.”
Conclusion
Layered candle making is a fun and creative craft. It lets you show off your artistic side. By following the steps and tips in this guide, you’ll make beautiful, multi-layered candles. These will be perfect for any room or as gifts for your loved ones.
Enjoy the process and try out different colors and scents. Most importantly, have fun with it. Layered candle making is a way to express your creativity and dedication. You’ll get to enjoy the results for many years.
This craft is the result of your hard work and learning. You now have the skills to keep exploring layered candle making. You can create amazing pieces that will inspire and please everyone who sees them.
FAQ
What are layered candles?
Layered candles are a special way to make candles. You pour different colors and scents of wax into a container. This creates a beautiful and unique design.
What are the benefits of making layered candles?
Making layered candles lets you pick your own colors and smells. You can try out different techniques. And, you can make candles that are truly one-of-a-kind.
What supplies do I need to get started with layered candle making?
You’ll need soy wax flakes, candle wicks, and heat-proof containers. Also, a double boiler or melting pot, spatulas, and glass cups. Don’t forget paper towels, isopropyl alcohol, duct tape, scissors, and crayons or dyes for color. And, essential or fragrance oils for scent.
How do I melt the wax and add color and fragrance?
Start by melting the soy wax flakes in a double boiler or melting pot. Heat it to 150-160°F. Then, add color with dyes or crayons and fragrance with essential or fragrance oils. Stir well to mix the color and scent into the wax.
How do I prepare the candle jars and secure the wicks?
Warm your candle jars before use to help the wax stick better. Secure the wicks with melted wax at the jar’s bottom. Use a chopstick or skewer to keep the wick straight while pouring wax.
What is the process for pouring the first layer?
Pour the first layer of wax slowly and evenly into the jars. This prevents air bubbles. Let it cool completely before adding more layers, which can take about an hour.
How do I add subsequent layers?
After the first layer cools, start adding more layers. Prepare more wax and pour it into the jars carefully. Make sure not to disturb the previous layer. Keep adding layers, letting each cool before the next, until you’re done.
How do I finish the layered candles?
Once the last layer cools, finish your candles. Use a spatula to smooth the top layer. Trim the wicks to 1/4 to 1/2 inch, making sure they’re straight and ready to light.
What are some creative ideas for layered candles?
You can try many things with layered candles! Mix different colors for an ombre look or layer scents for a unique smell. Use various containers and add things like flowers or crystals for more style.
What are some tips and tricks for making perfect layered candles?
For perfect candles, work with small batches to keep temperatures right. Let each layer cool before adding the next. Use duct tape or clips to keep the wick in place. And, try a wick centering device for straight wicks. With patience and practice, you’ll make beautiful candles.
Source Links
- https://candlewic.com/learn/candle-making-tips/layered-candles/ – How to Make Layered Candles – Candlewic: Candle Making Supplies Since 1972
- https://helloglow.co/layered-scent-diy-holiday-candles/ – DIY Layered Scent Holiday Candles
- https://www.candlescience.com/learning/layered-pillar-candles-with-soy-wax/?srsltid=AfmBOorXEVQw8p5YfGSJXXxYsT3HO_iYo0rwk-VY8qwzZU_4ITUyezVg – Layered Soy Pillar Candles
- Fragrance That Wows: A Beginner’s Guide to Adding Scents to Your Homemade Candles
- best essential oils for candles
- wood wick guide
- how to make candles smell stronger
- how to ship candles
- how to fix soy wax frosting
- wick Guide how to choose the right wick size with chart
- how to make candle molds
- how to clean candle wax
- how to reuse candle jars
- soy wax candle troubleshooting
- best wax melter for candle making
- how to conduct burn test
- why candle flickering crackling smoking
- how much wax per candle
- how to make candles smell stronger
- Easy Ways to Increase the Scent Throw of Your DIY Candles
- How to Make Candles for Meditation and Relaxation
- Using Upcycled Materials in Candle Making
- How to Make Hand-Poured Candles: Tips and Techniques
